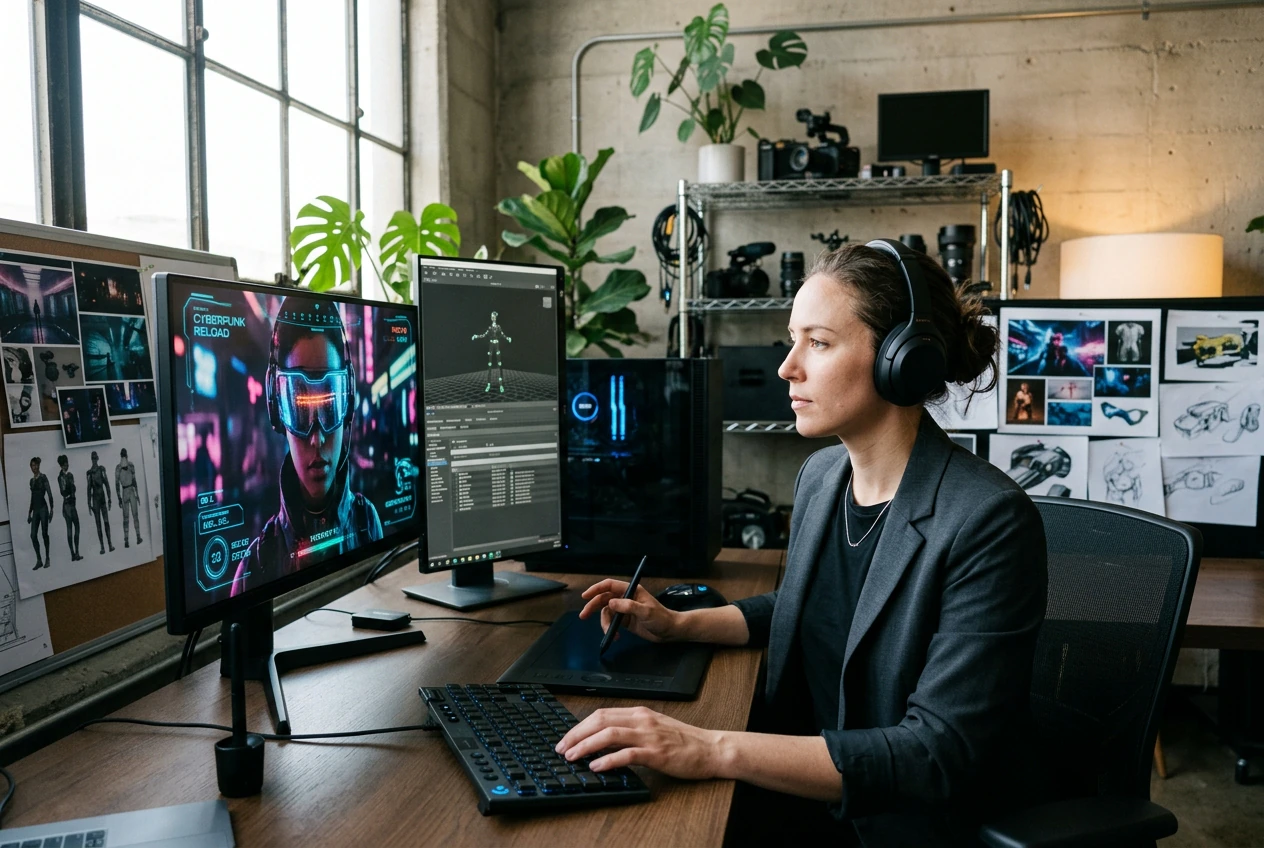
Free Visor X Video Generator

Visor X Effect adds a futuristic visor overlay to your footage while keeping the subject placement and clip timing intact. Front facing subjects with clear head separation usually preview more cleanly and export with more stable output.

Visor X Effect in Seconds

Upload your start and end frames, write a prompt, and generate a neon visor transition effect with HUD light sweep and cyber glow. No editing experience required to create cinematic sci-fi visor motion.

Who Uses Visor X Effect

Sci-fi visor transitions work for filmmakers, game creators, and social content makers who want futuristic helmet effects without manual VFX work.

Filmmaker using Visor X Effect for sci-fi video

Sci-Fi Filmmakers

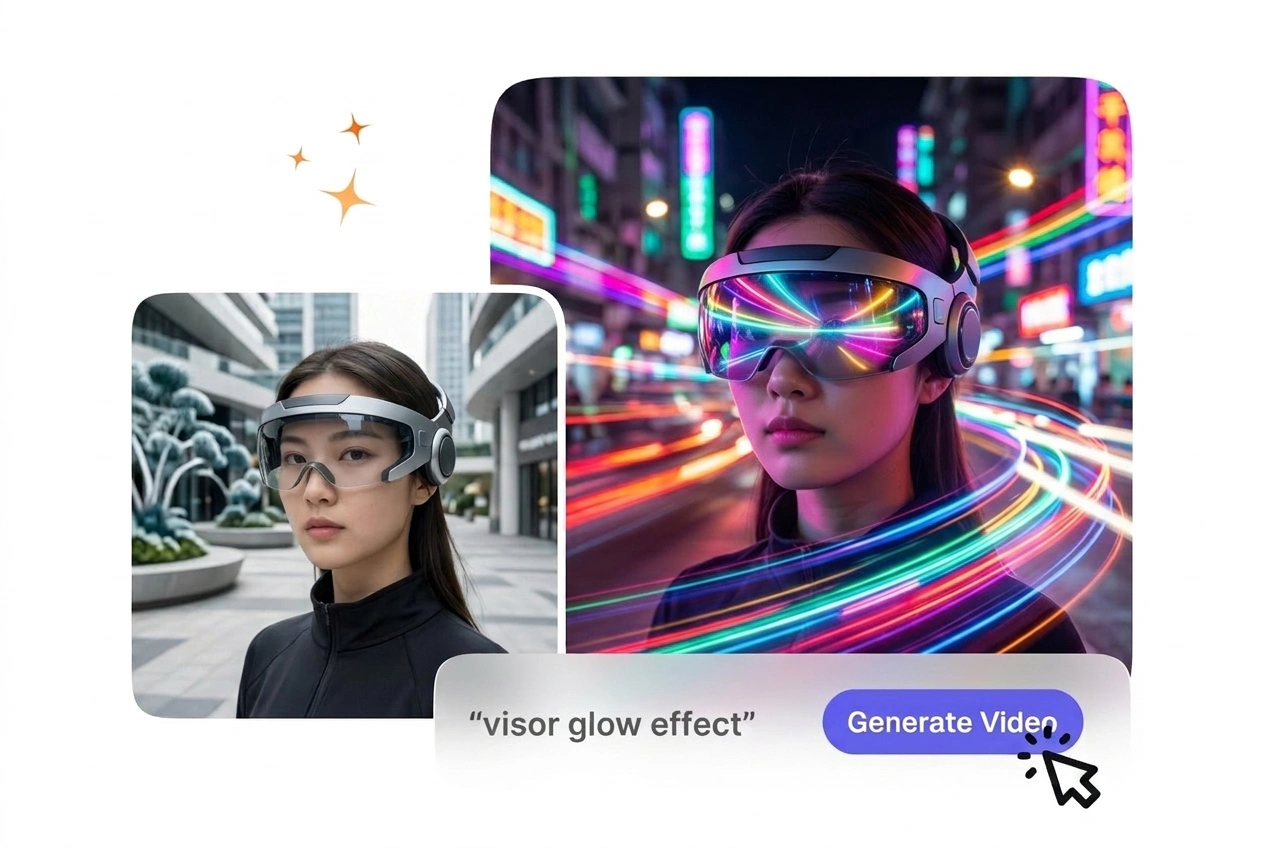
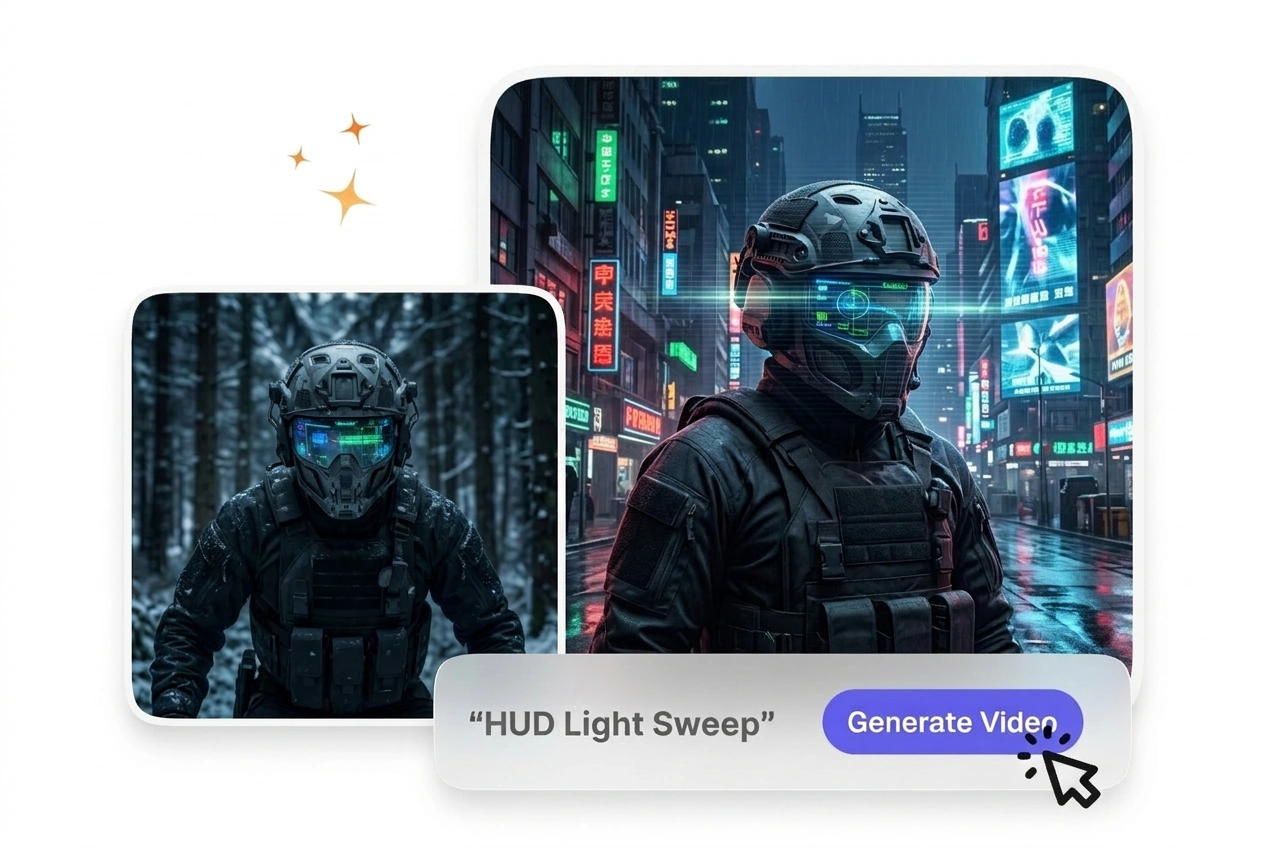
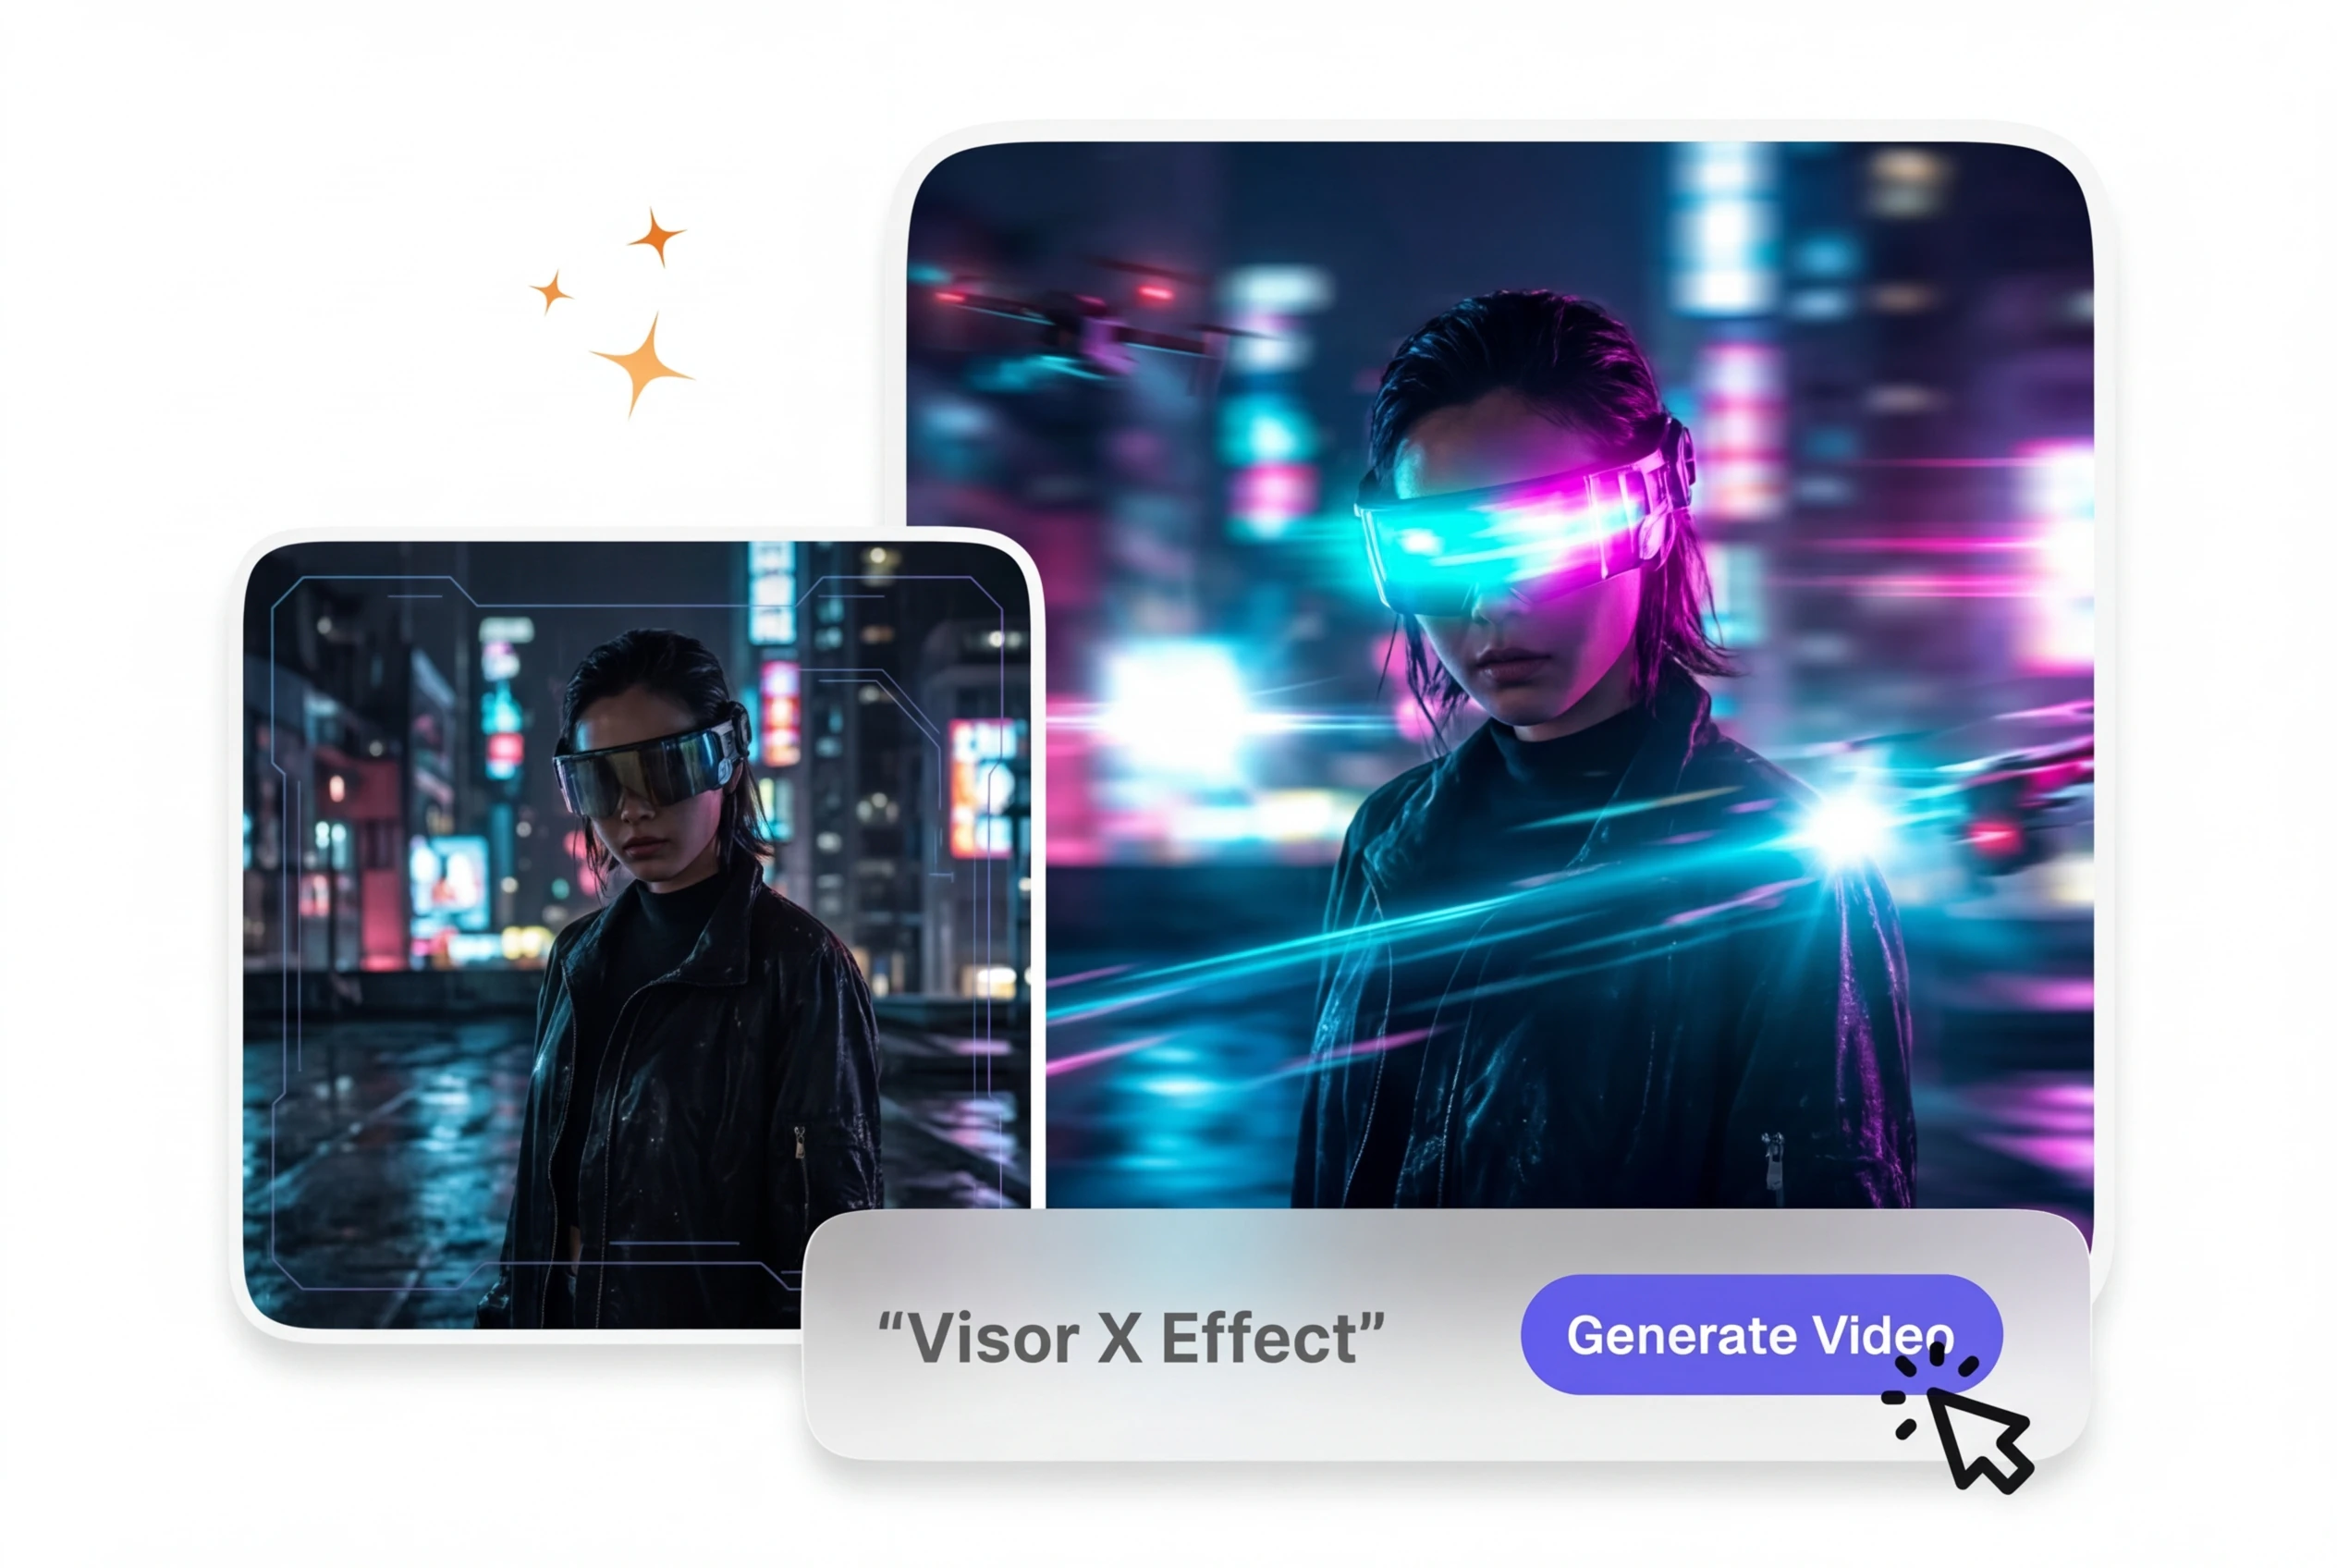
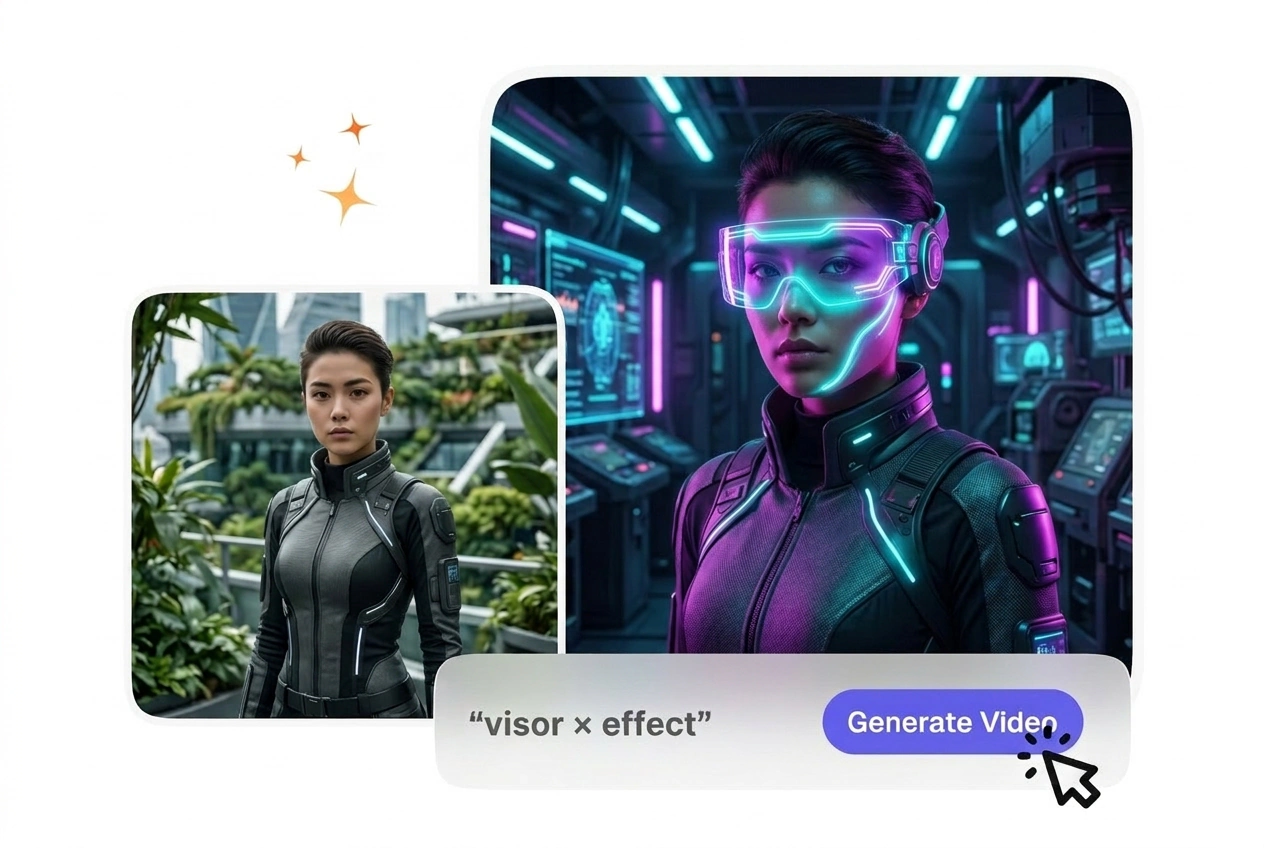
You need cinematic visor glow and HUD light sweep transitions between scenes. Visor X Effect generates the cyber visor reveal with neon glow in one pass, so you skip weeks of compositing and focus on story. Most filmmakers use this for helmet-cam reveals and futuristic interface transitions.

Game creator generating Visor X Effect transition

Game Trailer Creators

Your game footage needs futuristic visor motion and HUD elements to match the cyberpunk or sci-fi aesthetic. Input your gameplay clips as frames, set the visor glow intensity in your prompt, and export a polished transition effect. This works well for YouTube trailers and social clips.

Content creator making Visor X Effect video

Social Content Makers

Short-form posts and reels need eye-catching effects that stand out fast. The neon visor transition effect and AI transition quality make your clips look professional in seconds, so you post more frequently without hiring a VFX artist. Most creators use this for TikTok, Instagram, and YouTube Shorts.

How to Create Visor X Effect

Three steps from frames to finished sci-fi visor transition: upload your reference images, describe the effect you want, then generate and export.

Step 1

Upload Frames

Select your start frame and optional end frame, then upload them to the editor. Clear, well-lit frames with defined subject motion produce the cleanest visor glow and HUD light sweep results. The preview loads in seconds.

Step 2

Write Your Prompt

Describe the visor effect you want: neon color, glow intensity, HUD elements, and cyber aesthetic. If the subject is blurry, tighten the prompt to focus on the visor motion itself. Your text guides the AI transition generation.

Step 3

Generate and Export

Click generate and watch the AI transition render your sci-fi visor effect with light sweep and neon glow. After review, export in your preferred format and resolution. Most creators finish their first Visor X Effect video in under five minutes.

Visor X Effect Features

Built-in controls for neon visor glow, HUD light sweep timing, and cyber aesthetic so your futuristic helmet effect matches your vision.

Neon Visor Glow

The AI transition applies bright neon glow and reflective lens effects to your visor motion automatically. You control glow color and intensity through your prompt without adjusting sliders. Works best when your source frames have clear subject motion and defined edges.

Neon visor glow Visor X Effect demo

HUD Light Sweep

Scan lines and light sweep effects organize the transition and add cyber atmosphere to your footage. The AI transition timing syncs the HUD motion to your frame duration so it feels natural. This feature works well for sci-fi visor reveals and helmet-cam cuts.

HUD light sweep Visor X Effect transition

Cyber Aesthetic Control

Describe your preferred cyberpunk or sci-fi style in the prompt, and the AI transition adapts the visor effect to match. Cold color tones, mirror reflections, and interface elements layer automatically. If you want warm tones instead, your prompt adjusts the output accordingly.

Cyber aesthetic Visor X Effect customization

Fast Export Settings

Choose your output resolution and format before rendering, so the final file is ready for your platform. Most creators export in 1080p or 4K for social and film use. The preview shows quality before you commit to export.

Export settings Visor X Effect video quality

Visor X Effect Questions

Upload a clear start frame and an optional end frame showing your subject or scene. For best results, ensure both frames are well-lit with visible subject motion or a defined focal point. The AI transition works best when your source images have sharp edges and good contrast, so the visor glow and HUD light sweep render cleanly without artifacts.

Create Your First Visor X Effect

Try the free AI transition generator now. Upload frames, write a prompt, and see your sci-fi visor effect render in seconds with no credit card required.

Get Started