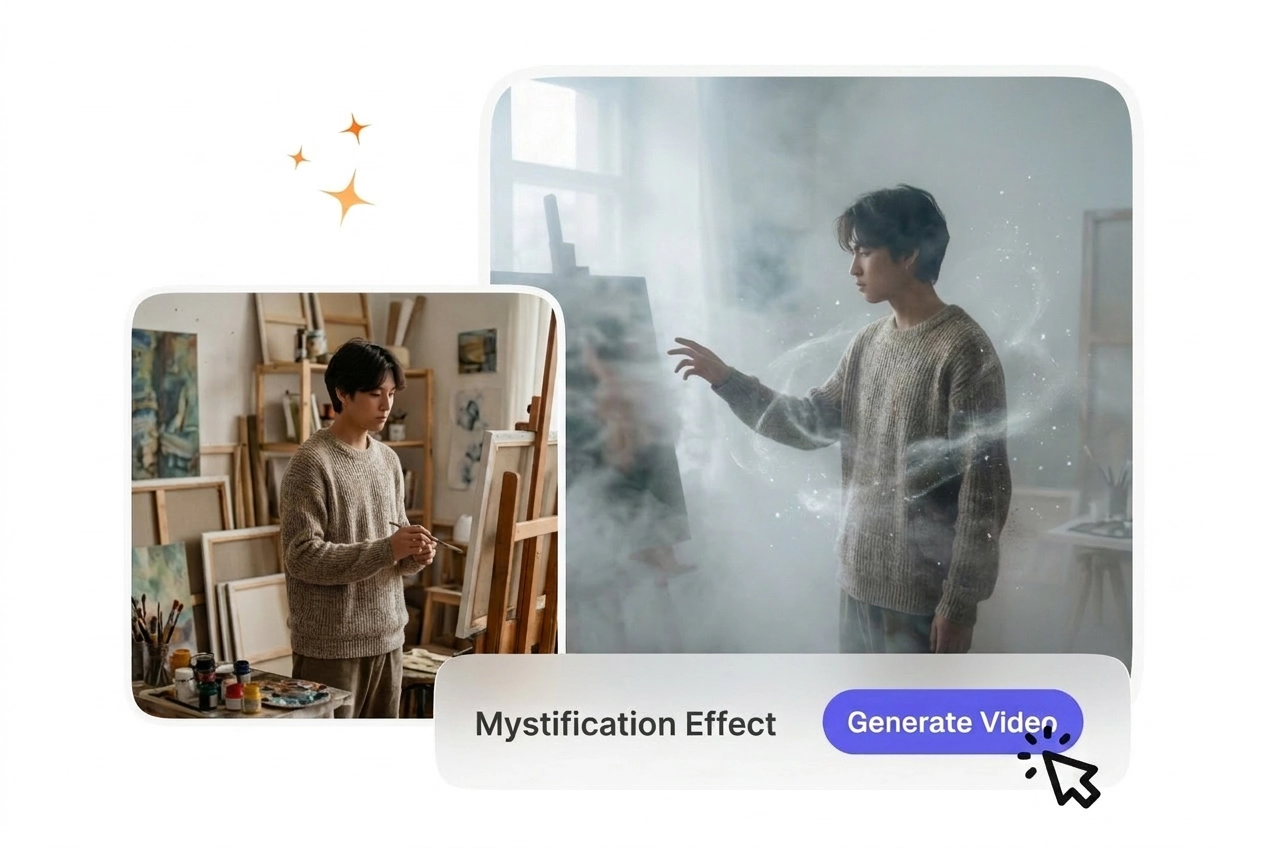
Free Mystification Video Generator

For footage that needs a more mysterious tone, Mystification Effect shifts the visual mood by adding controlled haze, depth, and shadow. Slower motion and cleaner backgrounds tend to produce more readable output in preview and a more stable render at export.

Mystification Effect Transitions Made Simple

Upload your start and end frames, write a prompt describing the mood you want, and generate a smooth mystification effect transition. No manual keyframing is required.

Who Uses Mystification Effect Transitions

Explainer creators, small-business owners, and AI video newcomers all benefit from mist-style transitions. Each group has different needs for how the effect supports their content.

Explainer creator using Mystification Effect transition

Explainer Creators

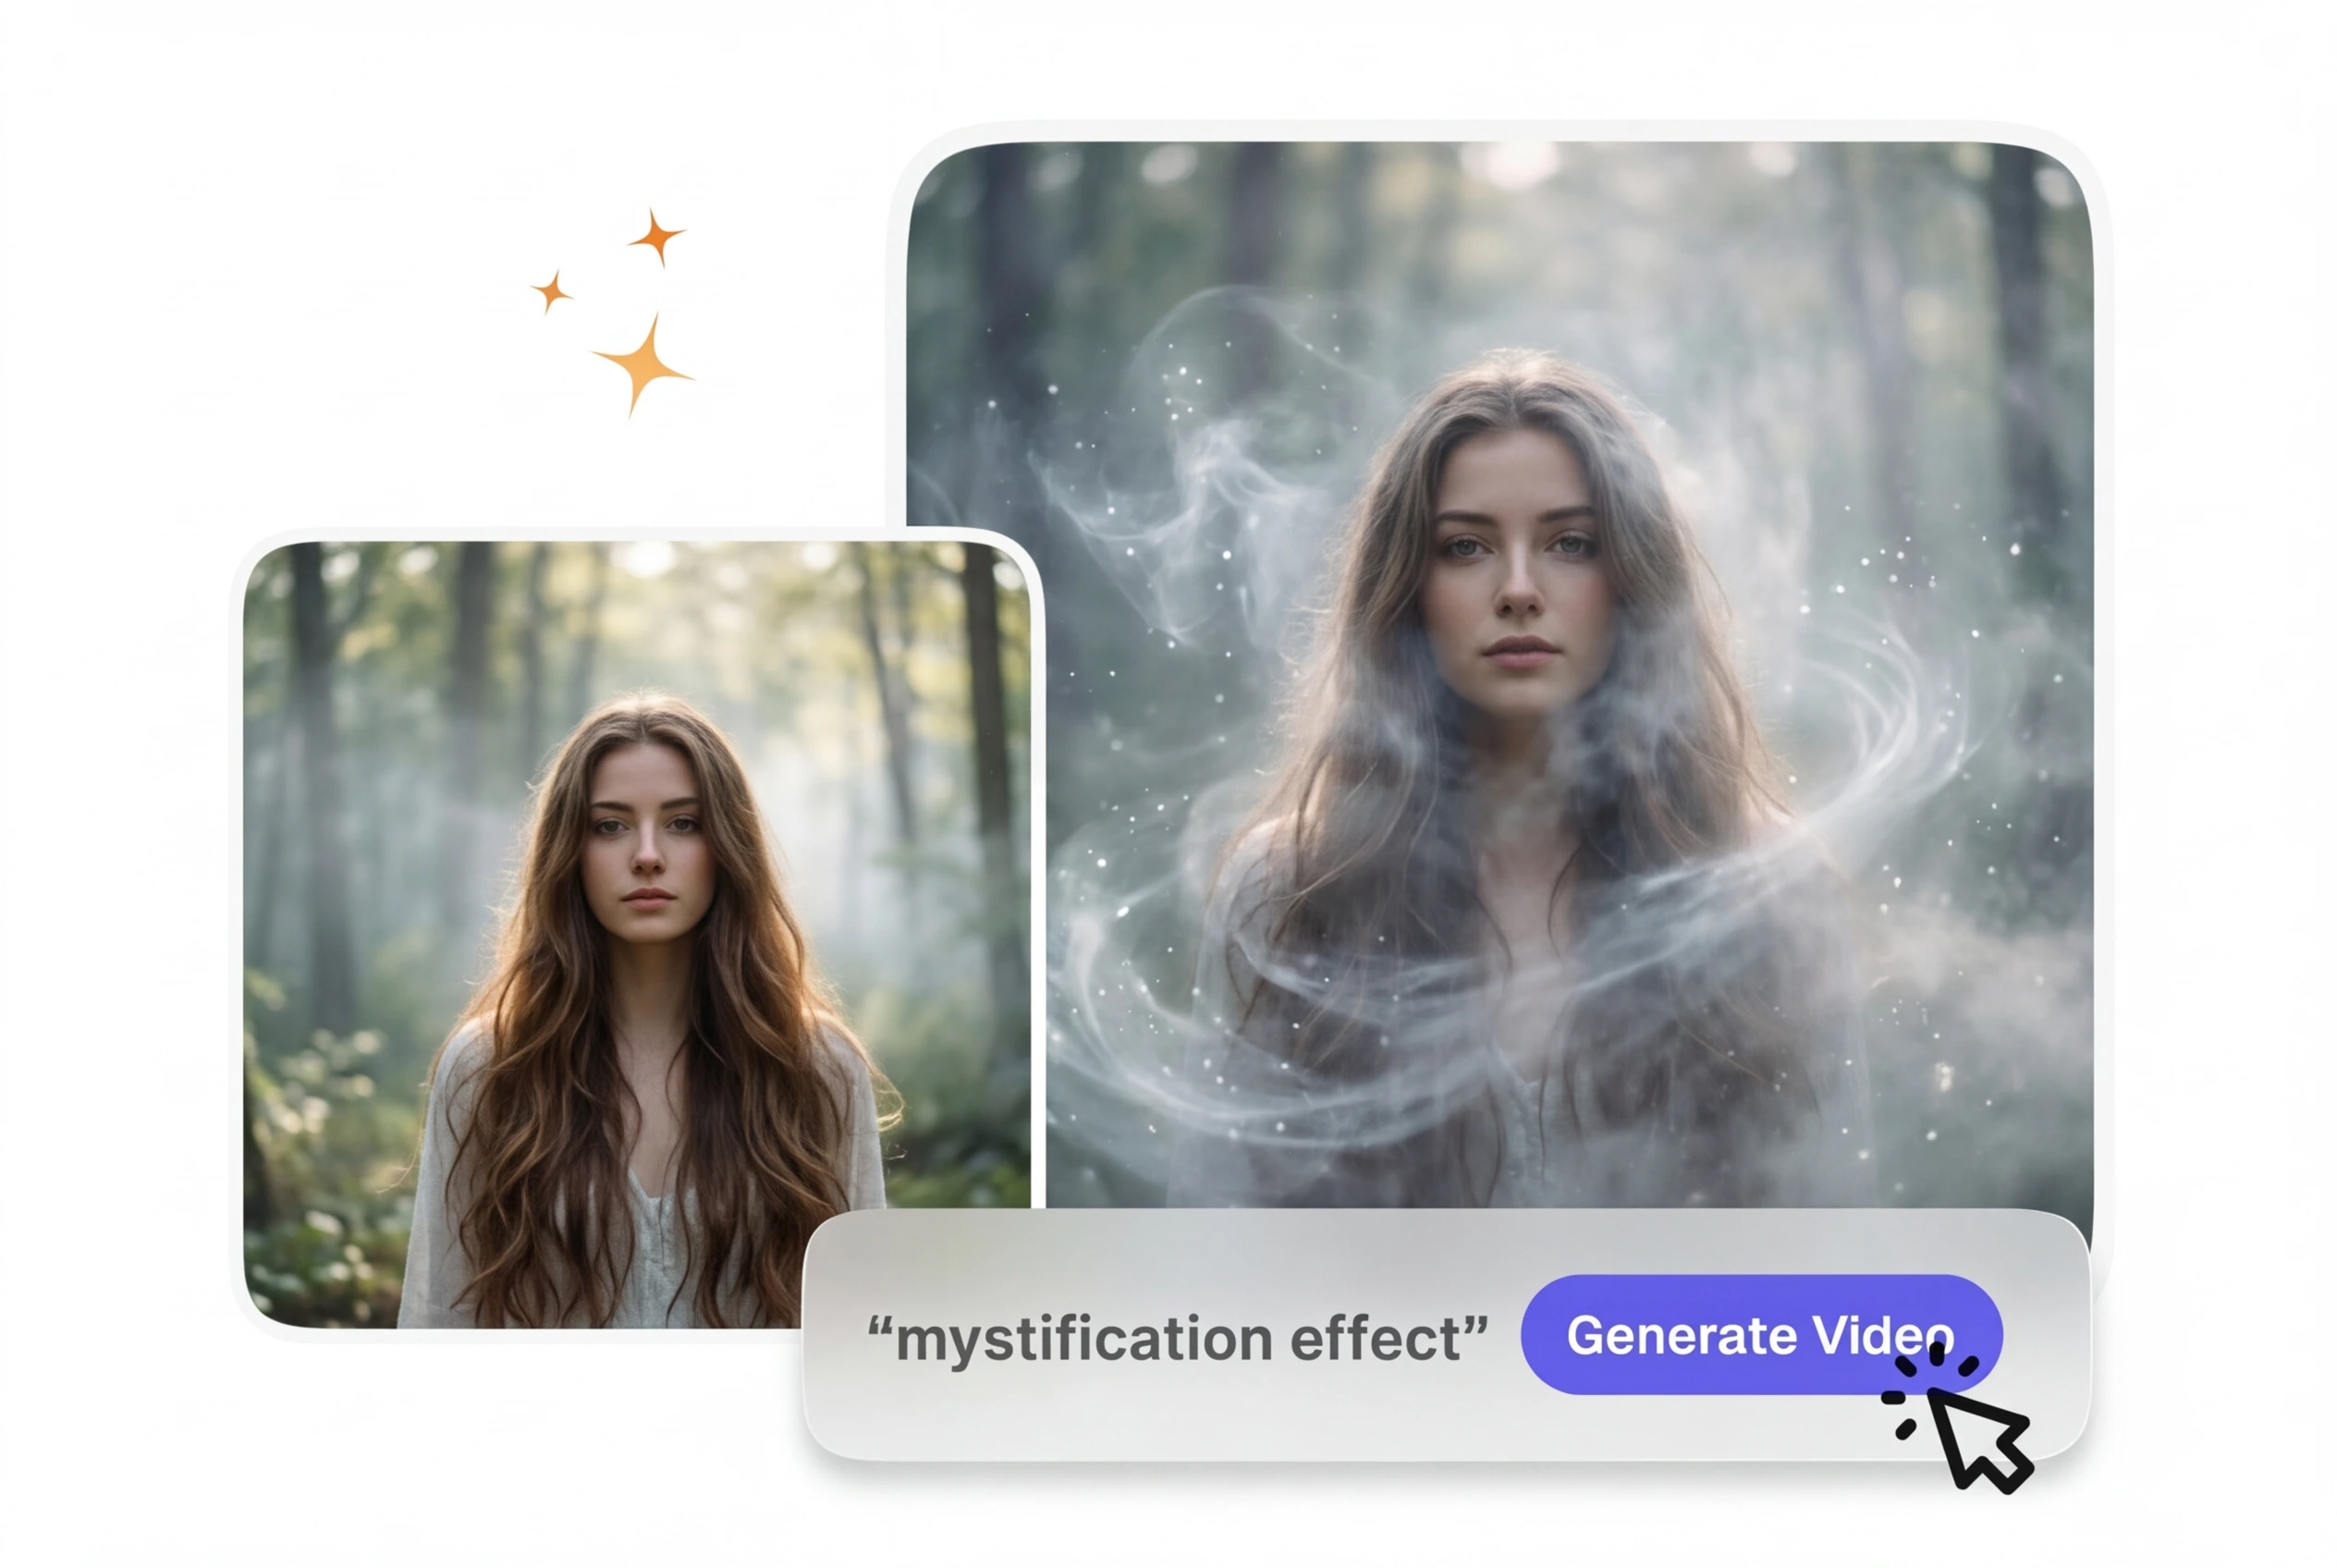
You build tutorials and educational sequences where transitions need to feel intentional, not distracting. Ethereal mist transitions add visual interest while keeping focus on your teaching points. The soft fog and particle layers wrap around your subject smoothly, so viewers stay engaged with the lesson instead of the effect itself. This works well for step-by-step walkthroughs and concept breakdowns.

Business owner creating Mystification Effect video

Small Business Owners

You post product and service videos on social media without a dedicated video team. A mist-style transition gives your clips a polished, cinematic feel in one pass. Upload your product frames, describe the mood or brand tone in your prompt, and export a professional-looking transition in minutes. Most weekly posts reach a postable file without extra editing or outsourcing costs.

New creator learning Mystification Effect workflow

First-Time AI Video Users

You have video ideas but limited editing experience and want predictable output without overwhelming settings. Mist-style transitions here ship with sensible defaults based on your frame content and prompt clarity. You see a preview before exporting, so you can iterate or adjust the mood without starting from scratch. This builds confidence and helps you understand how prompt detail affects the final result.

Create a Mystification Effect Transition

Three simple steps turn your frames and prompt into a smooth, ethereal transition. Upload, describe, and generate your clip with a mystification effect workflow in minutes.

Step 1

Upload Your Frames

Select your start frame and end frame from your source clip or upload reference images. For best results, make sure both frames have clear subjects and consistent lighting. VideoAI reads the motion and composition data to understand how to bridge the two scenes smoothly.

Step 2

Write Your Prompt

Describe the mood and intensity you want for mystification effect output: dreamy and soft, thick fog and particles, or subtle ethereal mist. If your subject is blurry or the frames have very different lighting, mention that in your prompt so VideoAI can adjust the effect accordingly. Clear prompts lead to cleaner transitions on the first try.

Step 3

Generate and Export

VideoAI builds the mist-style transition from your frames and prompt, then shows you a preview. Review the timing and intensity, then export in your preferred quality and format. Most transitions render in under two minutes, so you can iterate quickly if you want to adjust the mood or duration.

Mystification Effect Features

VideoAI handles the technical work so you focus on creative direction. Each feature helps you get clean, predictable results from a mystification effect pipeline.

Prompt-Driven Intensity

Your text prompt controls how dense and dreamy the mystification effect feels overall. Write 'soft ethereal mist' for subtle transitions or 'thick fog and particles' for more dramatic coverage. VideoAI scales the particle density and blur layers based on your exact wording, so you get the mood you describe without guessing at sliders.

Mystification Effect intensity control with prompt

Frame-to-Frame Bridging

VideoAI analyzes your start and end frames to understand subject position and lighting. The mist layer wraps around your subject consistently, so the transition feels natural even if the two frames have different compositions. When the subject moves or changes scale, the mist layer follows the motion path automatically.

Mystification Effect frame bridging demonstration

Preview Before Export

See the full mystification effect in the preview window before you commit to export. Check timing, particle density, and color tone in real time. If the effect feels too heavy or too subtle, adjust your prompt and regenerate without losing your original frames or settings.

Mystification Effect preview interface display

Multi-Format Export

Export your mystification effect clips as MP4, WebM, or ProRes depending on your workflow. Choose resolution from 720p to 4K and frame rate to match your project specs. Most creators use 1080p for social and web; higher resolutions work best for broadcast or cinema-quality content.

Mystification Effect export format options

Mystification Effect Questions

Upload frames where your subject is clear and well-lit, with distinct motion or position change between start and end. Avoid very blurry or static frames, because readable subject data anchors the mystification effect. If your frames have good contrast and clear subjects, the mist and particle layers will wrap around them smoothly and feel intentional rather than muddy.

Create Your First Mystification Effect

Try a free mist transition today. Upload frames, write a prompt, and see how the AI transition generator handles your clip.

Get Started